Graphics
Instanced draw
- The core technology which allowed us to go with the voxel style without sacrificing performance.
- A single mesh (here: a cube) is rendered multiple times with different parameters with a single draw call.
- Instances vary in position (stored as the offset from the center of the model) and color (stores as an index into a predefined palette of colors).
- Available as an extension to WebGL1, and built into WebGL2.
- The desert has around 18,000 voxels rendered on the screen each frame. Each voxel is a cube drawn using 12 triangles, each of which is defined with 3 vertices. That's 36 vertices per voxel, or 684,000 vertices per scene.
- Every frame, the GPU needs to compute the final color of each vortex, taking into account the lighting of the scene.
- There are usually at least a few active lights on the screen, and sometimes the number goes above 10, especially when there's a lot of projectiles on the screen.
- For each vertex, the GPU calculates the distance to each active light and multiplies the color of the vertex by the color of the light, adjusted for the distance.
- That's (number of vertices * number of active lights) computations each frame, so at least a couple million.
- Even better, the town and the mine have around 35,000 voxels rendered on the screen each frame. That's 1,260,000 vertices drawn each frame for which their color must be calculated. The GPU does up to 20 million distance calculations every frame in these scenes.
- All of this takes 2-3 milliseconds on modern discrete GPUs, and up to 7-9 ms on integrated ones. We're hitting 60 FPS with ease on most modern systems.
- Conclusion: computers in 2019 are stupidly fast :)
Models
- We used Magica Voxel to create voxel models.
- Assets generation begun with a single mood board that presented a scene from the game:

- Every element was then saved as a separate
.voxfile. We used our own command-line exporter to readvoxdata saved by Magica, and save it as a custom binary format we calledtfu. - Each voxel saved in
tfucontains 4 numbers: three for position (x, y, z) and one for a color index. We limit them to the 0-15 range, so that one voxel can be saved using only 2 bytes. None of our models were bigger than 16x16x16, and our rendering system let us define color palette per draw, which madetfua perfect format for our prebuilt models. - All the
voxmodels were saved in a singlemodels.tfufile, separated by a 0-4096 integer describing number of voxels in the current model. - Our command-line
tfupacker supports tree shaking. Invisible voxels inside the model are not exported at all. The script also generates a default color palette, together with the models map, a TypeScriptconst enumdescribing the position of the model inside thetfufile:export const enum Models { BODY = 0, CAC3 = 1, FOOT = 2, HAND = 3, GUN1 = 4, CAMPFIRE = 5, WINDOW = 6, ROCK = 7, } - Using the map above, we could pass specific model to the rendering system using its index, like that:
game.models[Model.BODY]. - Characters were divided into bodies, hands, and legs.

- Color indices from the 0-3 range (whites and yellows seen on the screen above) were substituted by random colors from the predefined palette when new character was created. First, we defined a set of colors for skin, hair, shirt, and pants:
let shirt_colors: Color[] = [[1, 0, 0], [0, 1, 0], [0, 0, 1], [1, 1, 1]];
let skin_colors: Color[] = [[1, 0.8, 0.6], [0.6, 0.4, 0]];
let hair_colors: Color[] = [[1, 1, 0], [0, 0, 0], [0.6, 0.4, 0], [0.4, 0, 0]];
let pants_colors: Color[] = [[0, 0, 0], [0.53, 0, 0], [0.6, 0.4, 0.2], [0.33, 0.33, 0.33]];
- Then, we randomly select one element from each set to create a final character palette (
elementfunction chooses random element of an array):let character_palette = palette.slice(); character_palette.splice(0, 3, ...(element(shirt_colors) as Color)); character_palette.splice(3, 3, ...(element(pants_colors) as Color)); character_palette.splice(12, 3, ...(element(skin_colors) as Color)); character_palette.splice(15, 3, ...(element(hair_colors) as Color));
- The
rockwas the biggest model in our predefined set. It's an 8x8x8 brown blob.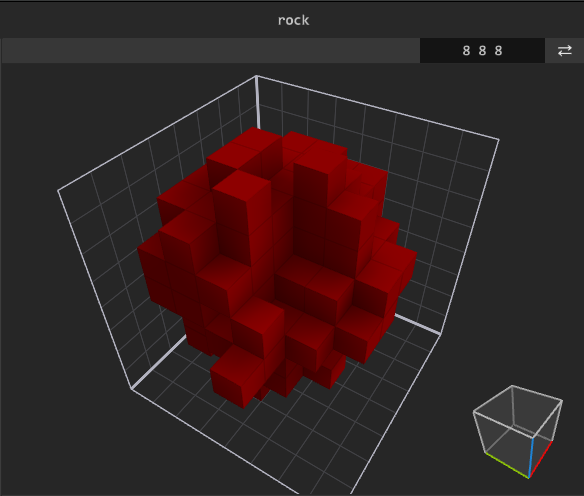
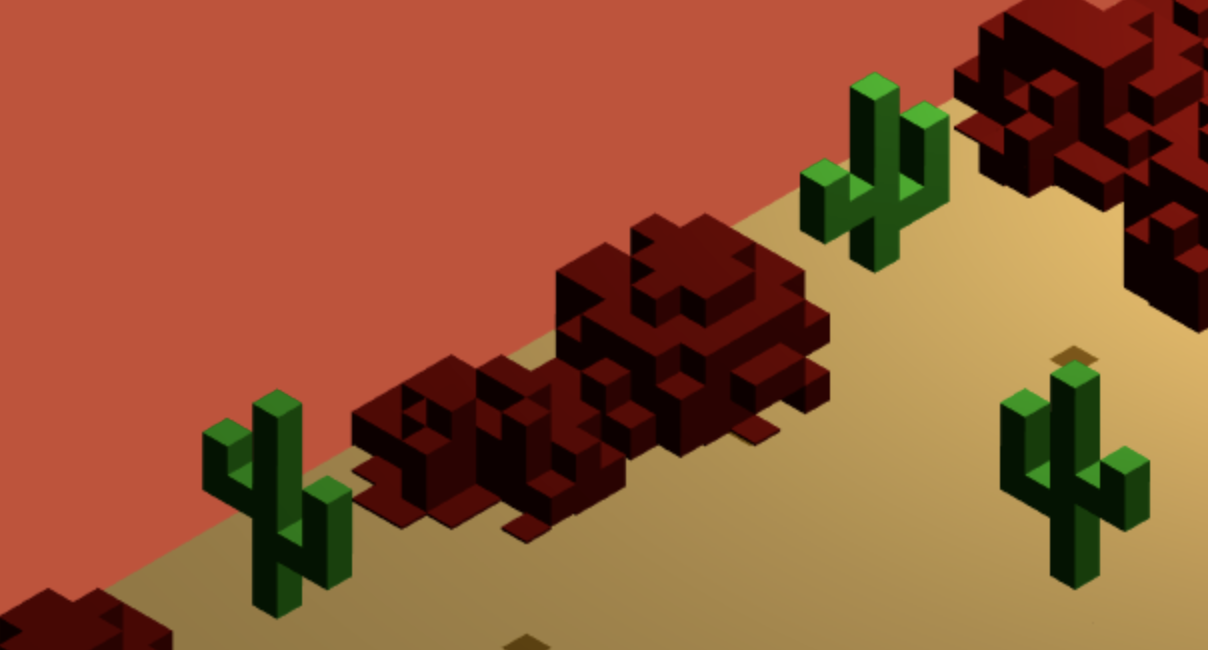
- By rotating it in a random manner in all the axes, and changing the depth it was spawn at, we were able to create an illusion of having multiple different rock models.

- Same with the cacti: a single model was rotated and positioned randomly to create an illusion of variety.
- To draw procedurally generated models we created a
create_linemethod. It expected a starting position, final position, and color index to draw a three-dimensional voxel line. Both hats and buildings were generated using this function. - When drawing a hat, we first randomly set 6 variables that describe it:
let hat_z = integer(2, 3) * 2;
let hat_x = integer(Math.max(2, hat_z / 2), 5) * 2;
let top_height = integer(1, 3);
let top_width = integer(1, hat_z / 4) * 2;
let has_extra = top_height > 1;
let has_sides = rand() > 0.4;
- And then draw it using a series of
forloops andcreate_linecalls (full code):for (let i = 0; i < hat_z; i++) { // BASE offsets.push( ...create_line( [-hat_x / 2 + 0.5, 0, -hat_z / 2 + i + 0.5], [hat_x / 2 + 0.5, 0, -hat_z / 2 + i + 0.5], Colors.HAT_BASE ) ); } - Together with previously described character models and their random palettes, we were able to generate multiple different characters.

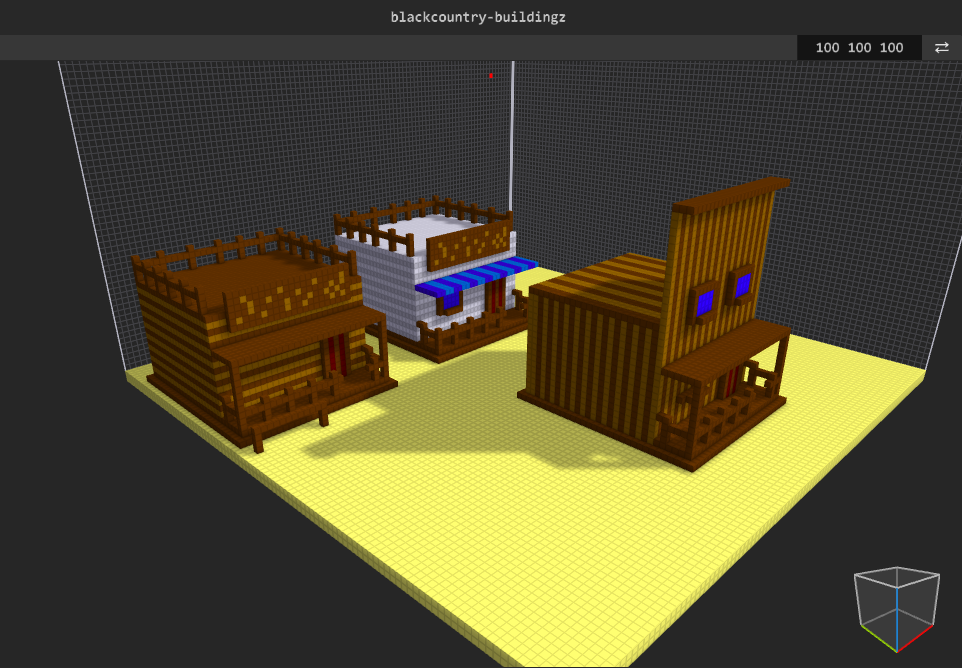
- To generate buildings, we first prepare a set of example models in MagicaVoxel for reference.
- And then we used
create_lineto draw PG buildings based on 7 descriptors (full code):let has_tall_front_facade = rand() > 0.4; let has_windows = rand() > 0.4; let has_pillars = rand() > 0.4; let building_size_x = 20 + integer() * 8; let building_size_z = 30 + integer(0, 5) * 8; let building_size_y = 15 + integer(0, 9); // height let porch_size = 7 + integer(0, 2);
- By merging those two methods together (
create_linefor procedurally generated content and predefined models created in MagicaVoxel) we were able to add more complex structures like mine entrance almost for free (it's arockmodel scaled up 4 times + couple ofcreate_linecalls).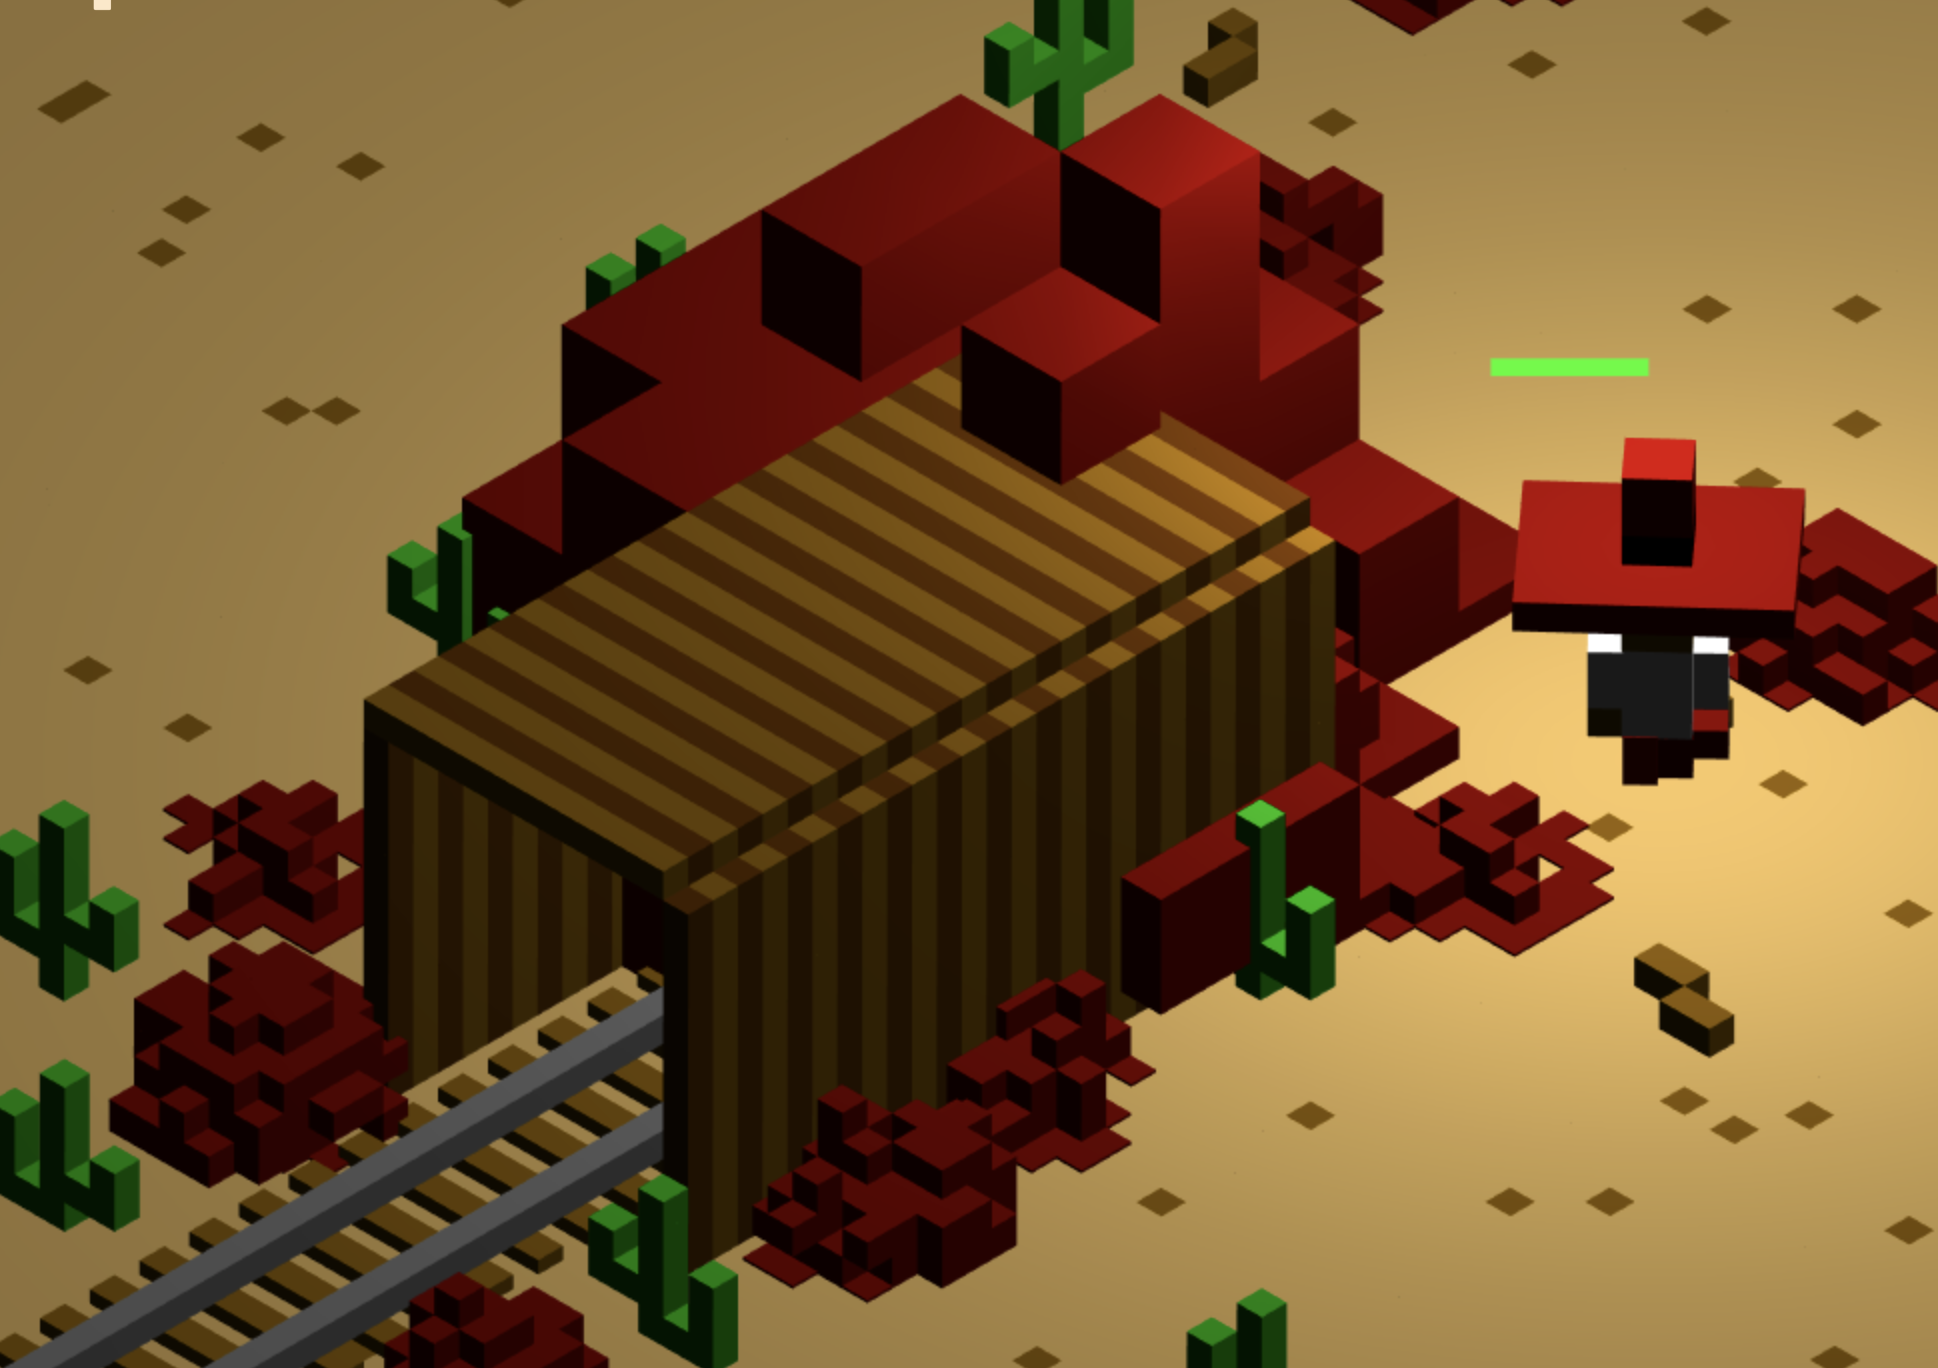
Terrain Generation
- The topologies of the desert and the mine don't depend on the daily seed. They are generated randomly on each playthrough.
- They are generated using the Recursive Division algorithm. The starting chamber is randomly divided in half with a wall. Then, at least one wall cell is removed (so two adjacent regions stay connected) and the algorithm is repeated for each of the two new subregions. Recursion continues until all chambers are minimum sized.
- The original method leaves only one opened cell between chambers. We decided to randomly remove 60% of all walls in desert levels, and 30% in mines, to create more open spaces.
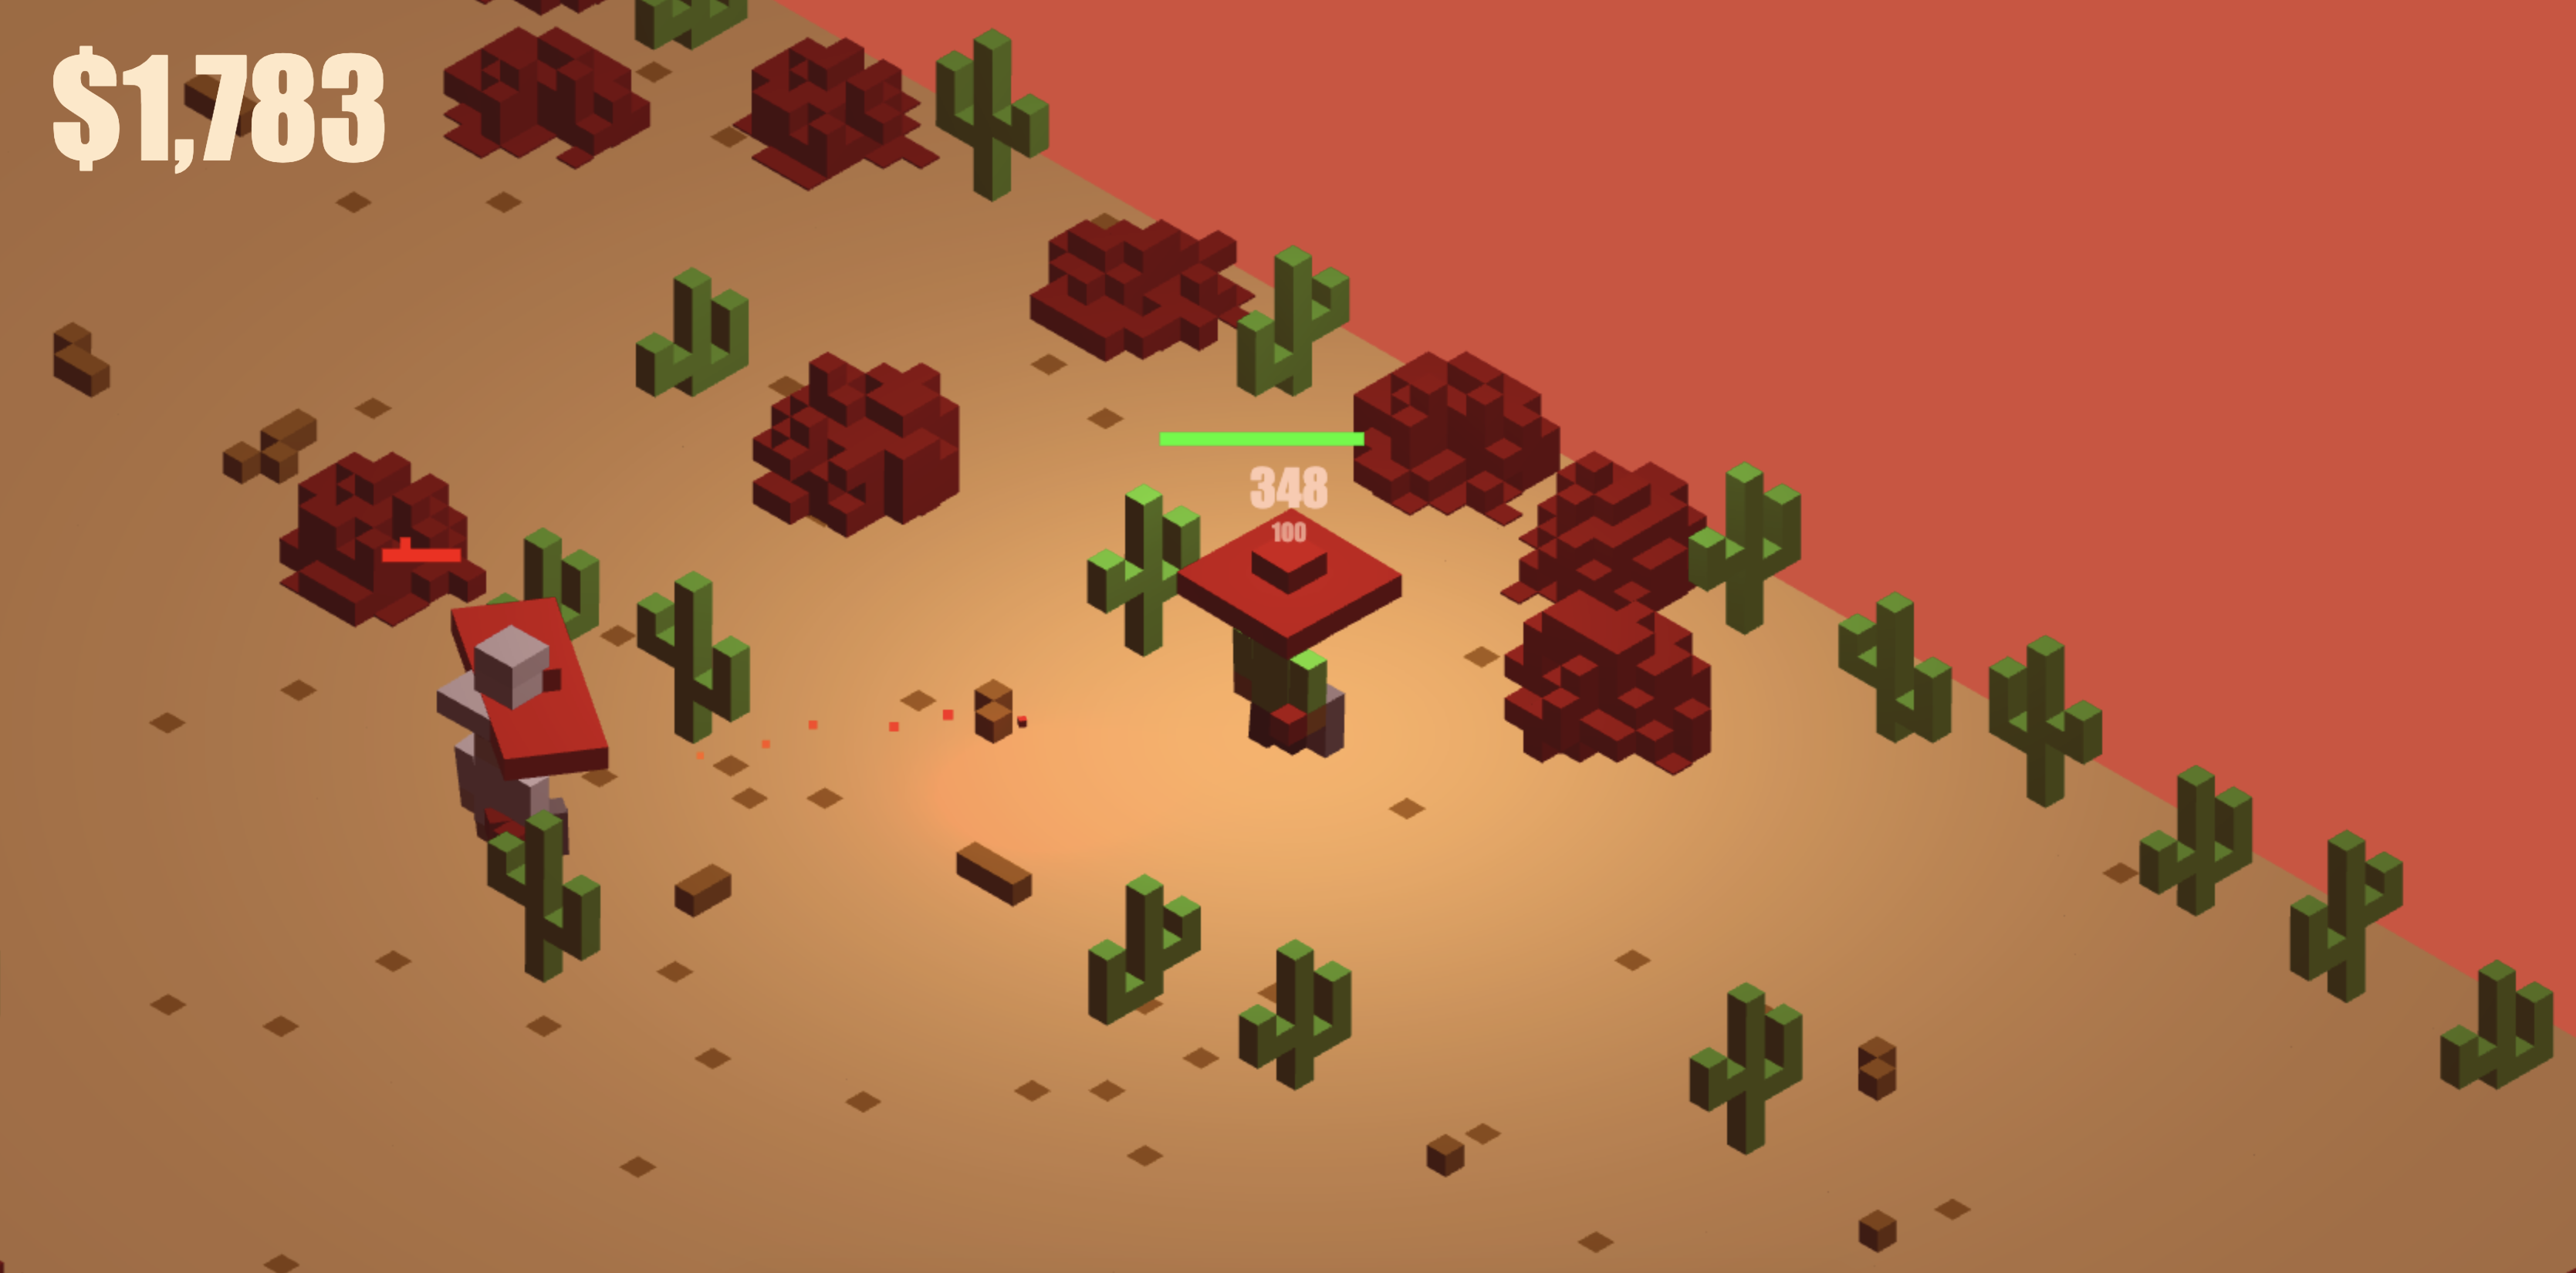
- Walls are built with cacti and rocks in the desert...
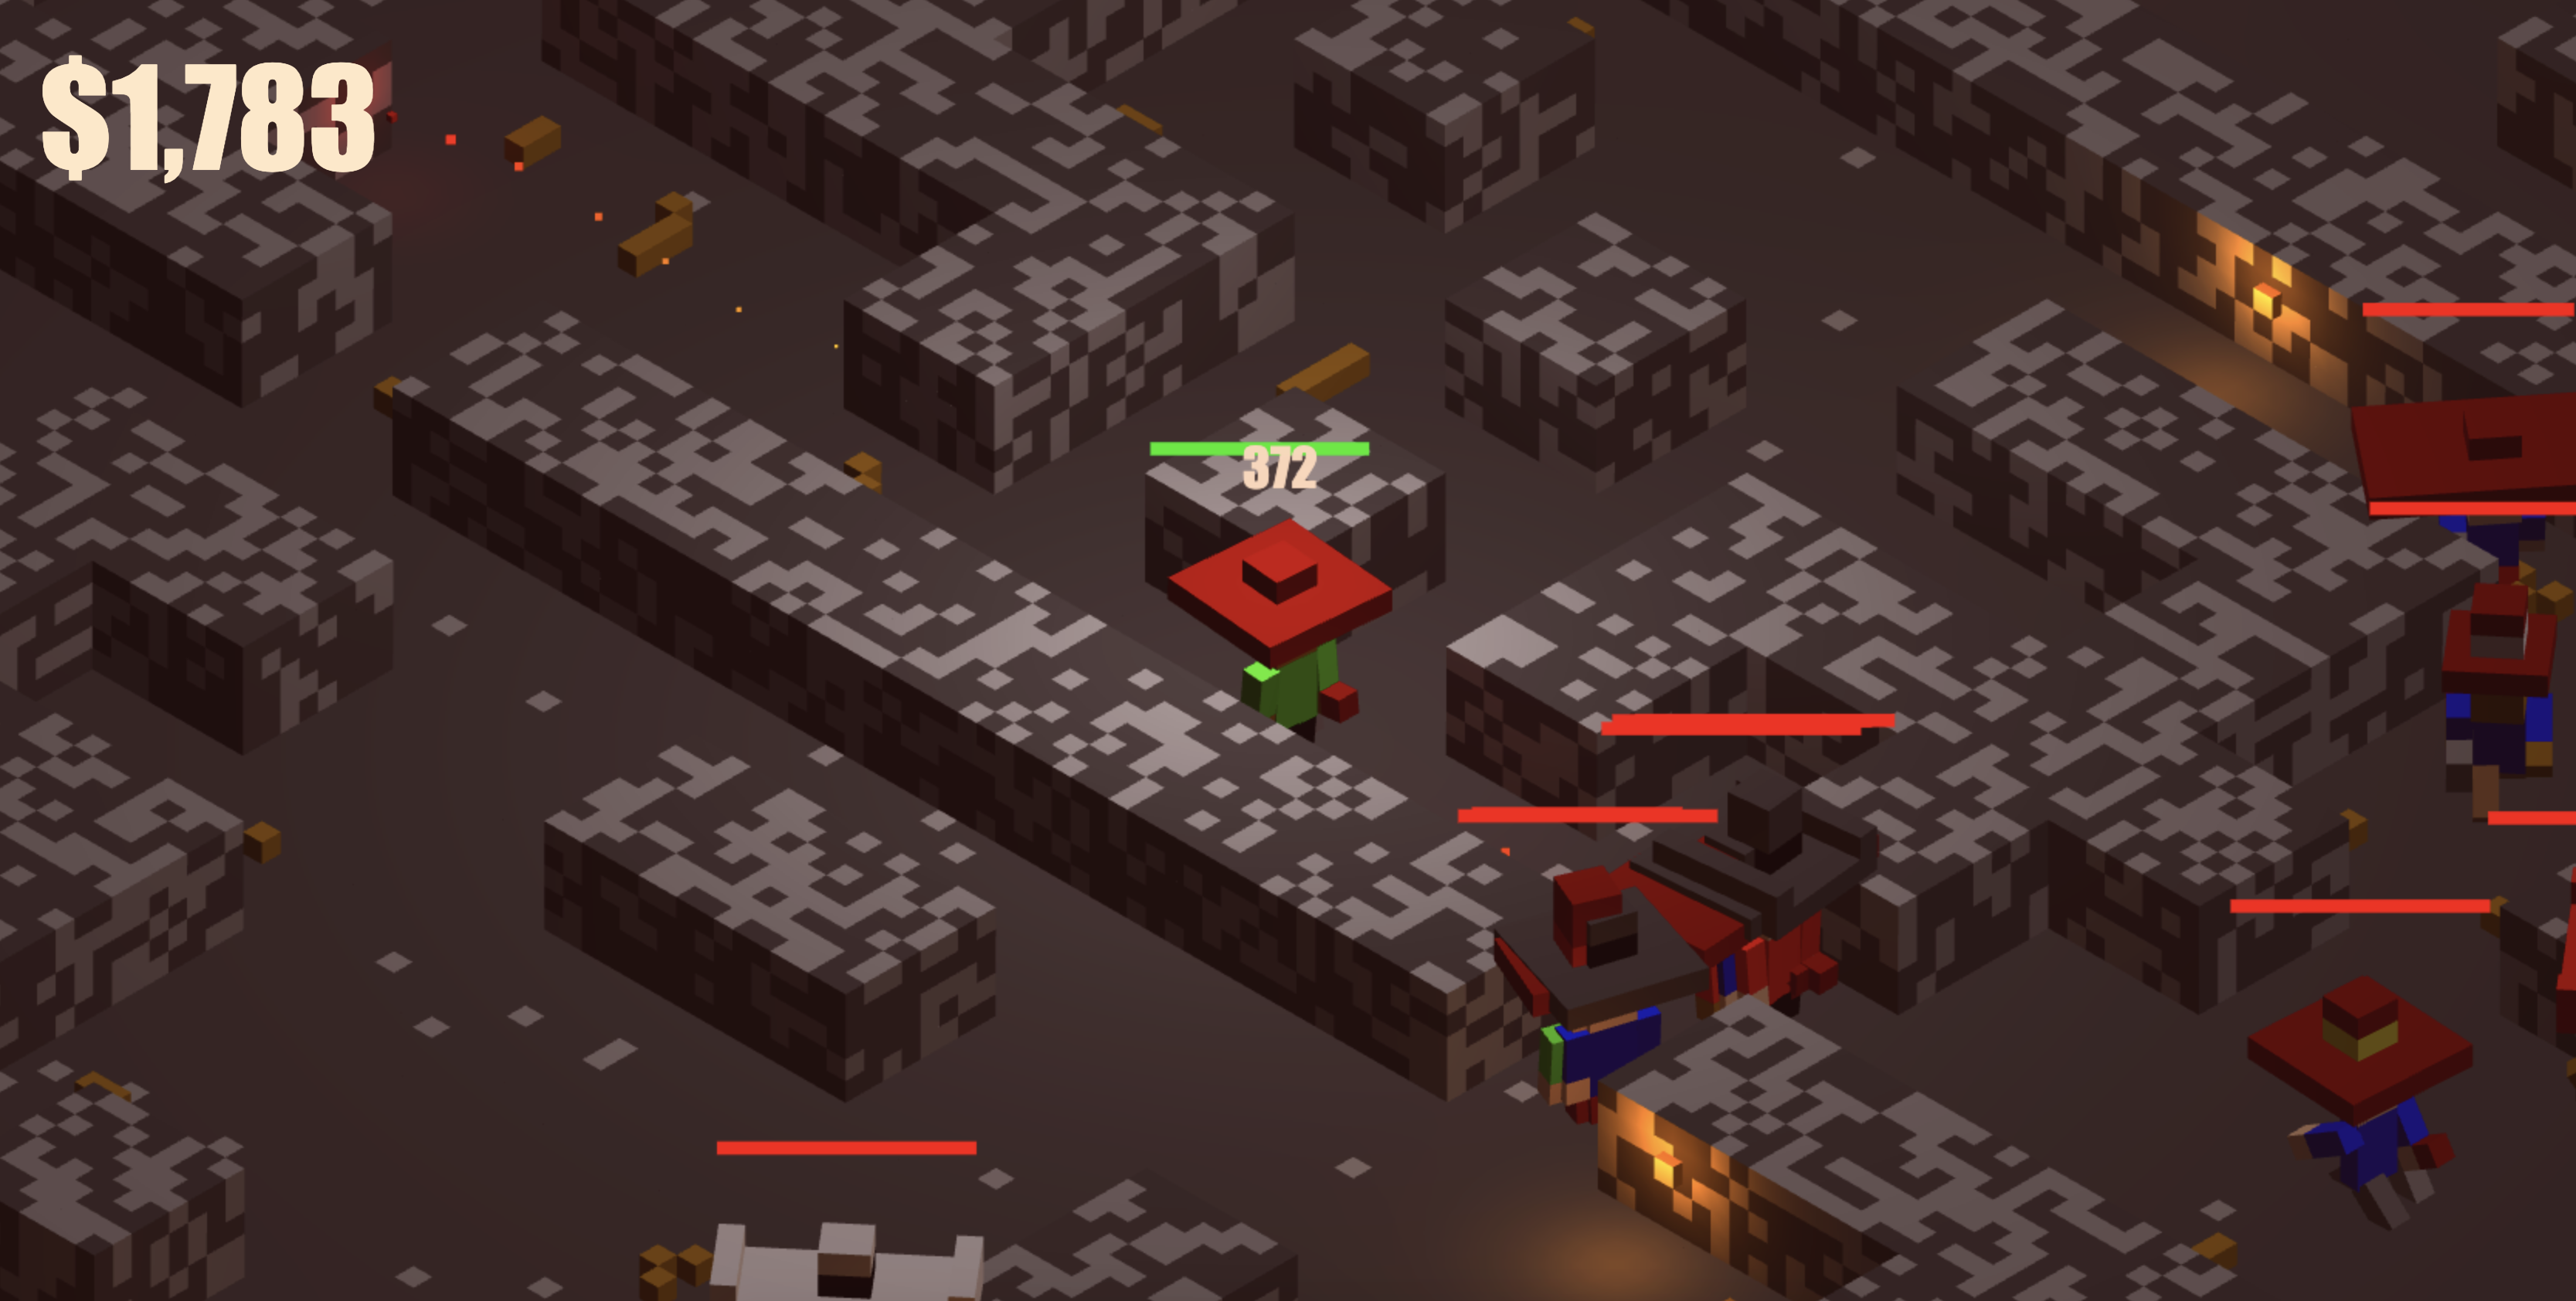
- ... and with, well, walls in the mine.
Animations
- All animations are done on the CPU by modifying nested transforms.
- Storing the parent-child relationships in the Transform component allowed us to build character models as nested hierarchies of body parts: head, torso, arms, legs, and even the hat and the gun.
- The animations are stored as sequences of key frames defining the translation and the rotation relative to the parent transform.
{ // right arm Translation: [1.5, 0, 0.5], Using: [ animate({ [Anim.Idle]: { Keyframes: [ { Timestamp: 0, Rotation: from_euler([], 5, 0, 0), }, { Timestamp: 0.5, Rotation: from_euler([], -5, 0, 0), }, ], }, [Anim.Move]: { Keyframes: [ { Timestamp: 0, Rotation: from_euler([], 60, 0, 0), }, { Timestamp: 0.2, Rotation: from_euler([], -30, 0, 0), }, ], }, [Anim.Shoot]: { Keyframes: [ { Timestamp: 0, Rotation: from_euler([], 50, 0, 0), }, { Timestamp: 0.1, Rotation: from_euler([], 90, 0, 0), Ease: ease_out_quart, }, { Timestamp: 0.13, Rotation: from_euler([], 110, 0, 0), }, { Timestamp: 0.3, Rotation: from_euler([], 0, 0, 0), Ease: ease_out_quart, }, ], Flags: AnimationFlag.None, }, }), ], }, - Each body part has its own set of animation clips defined. A top-level container entity decides when a specific clip should be played. It then sets an animation trigger in all descendants using the
components_of_typeiterator.for (let animate of components_of_type<Animate>(game, transform, Get.Animate)) { animate.Trigger = Anim.Shoot; } - This is different from how animations, in particular skeletal animations, usually work in game engines. An animation clip usually defines all transformations for all affected joints in a single place.
- Our approach is simpler and takes advantage of the existing hierarchy of entities in the scene, rather the duplicate it in the clip definition. It’s also more modular and more reuse-friendly, at the cost of clips being harder to define manually.
- The
sys_animatesystem updates the transforms according to the current key frames and the time stamp. An easing function can be applied to better control the feel of the animation. - When no trigger is set and the current clip has finished and it’s not supposed to play looped, the
Idleanimation plays. Idle animations are essential to making the world come to life: things move slightly even when nothing happens in the game.